Showing posts with label Christmas Tree. Show all posts

Sunday, January 6, 2013

Christmas in Our Home

Here's a little peek of Christmas in our home...


...a little late, before it all gets put away.  Where did December go?

Happy 2013 to you!

Monday, December 17, 2012

A Flocked Christmas Tree


A couple of weeks ago while we were on our quest for pine boughs to decorate our house with, we stopped at a nursery in our neighborhood.  At this particular nursery, they sold real Christmas trees that had been decorated with flocking.  Let me tell you guys, if I had an extra $150 burning a hole in my pocket every December, I would buy a real, flocked Christmas tree.  I would.  They are beautiful!  Just look!

Of course, we left that nursery without a flocked tree and came home to this tree.  Of all the Christmas trees in our house, this one was the Charlie Browniest.  I couldn't stop thinking about those flocked trees.

I really wanted to flock the little artificial Christmas tree for our basement family room.  I did some research and wasn't able to find much information on flocking your own Christmas tree.  The information I did find said that you would need a machine that would spray the flocking on to your tree and there was no way that I would be able to find or purchase something like that.  Other tutorials said to use a mixture of soap and water, but that approach was more suitable to a real Christmas tree that could be disposed of after the end of the holiday.  My husband called the nursery that sold the flocked trees and asked if there was any way to flock an artificial tree.  The employees there were quite helpful and gave us some information which I will share with you today!  

I am not going to be confident enough to call this a tutorial for a couple of reasons.  I do not know how the flocking will hold up after Christmas is over.  The employee we spoke to at the nursery said that it should last for a couple of years, but there is no certainty in that.  Our plan is to remove the ornaments and lights but leave the rest of the tree together, since pushing the branches down and storing it in a box will no longer be an option.  Putting it in a Christmas tree bag and keeping it in our attic will hopefully preserve the flocking for at least a couple of years. 

Also, I'm not sure that there is a "technique" to this.  The employee at the store said to "throw the flocking at the tree", which I did do at times.  I also "sprinkled" the flocking on to the tree.  At times, I "pushed" the flocking onto the tree.  In other words, I basically flew by the seat of my pants on this project, not knowing for sure if it would turn out until the end.  Yikes.  I'm still not confident about how I went about it, thus, I won't call it a tutorial.  I'm not a flocking expert.  However, I will tell you that it made our artificial tree much prettier to look at and it was worth the time, effort, and money put into it.  So that's that.  I would be happy to try and answer any questions you may have, but I can't guarantee good results for your tree should you try it yourself.

Let's move on.  To flock our Christmas tree, I used the following supplies:

a Christmas tree (artificial)\
spray paint
flocking powder (I bought a 5 lb. bag for $5.00 per lb.)
a spray bottle filled with water
a mask
safety glasses
rubber gloves (optional)
old clothing (this project is messy!)

To start, I brought our 6'x3' tree outside and primed it with a very light coat of spray paint.  I am not sure if this step was necessary, however I wanted the flocking to adhere to the tree as best as possible.

After the spray paint had dried, I sprayed a small section of the tree with the water.  I then put on my safety glasses and mask to protect myself from the flocking dust.

I then took a small handful of the flocking powder and sprinkled it on the wet sections of the tree.

To set the flocking powder, I sprayed it with water.  As I applied the water to the flocking powder, it clumped together.  After the flocking and water dried, it turned hard.

This is what the flocking looked like after it dried completely.

I could have added more flocking to this tree to make it look like the ones in my inspiration picture above because I had more than enough flocking.  However, Jason and I both decided that we like a little bit of the green in the tree to show.  Also, the more flocking you use, the more expensive it is!

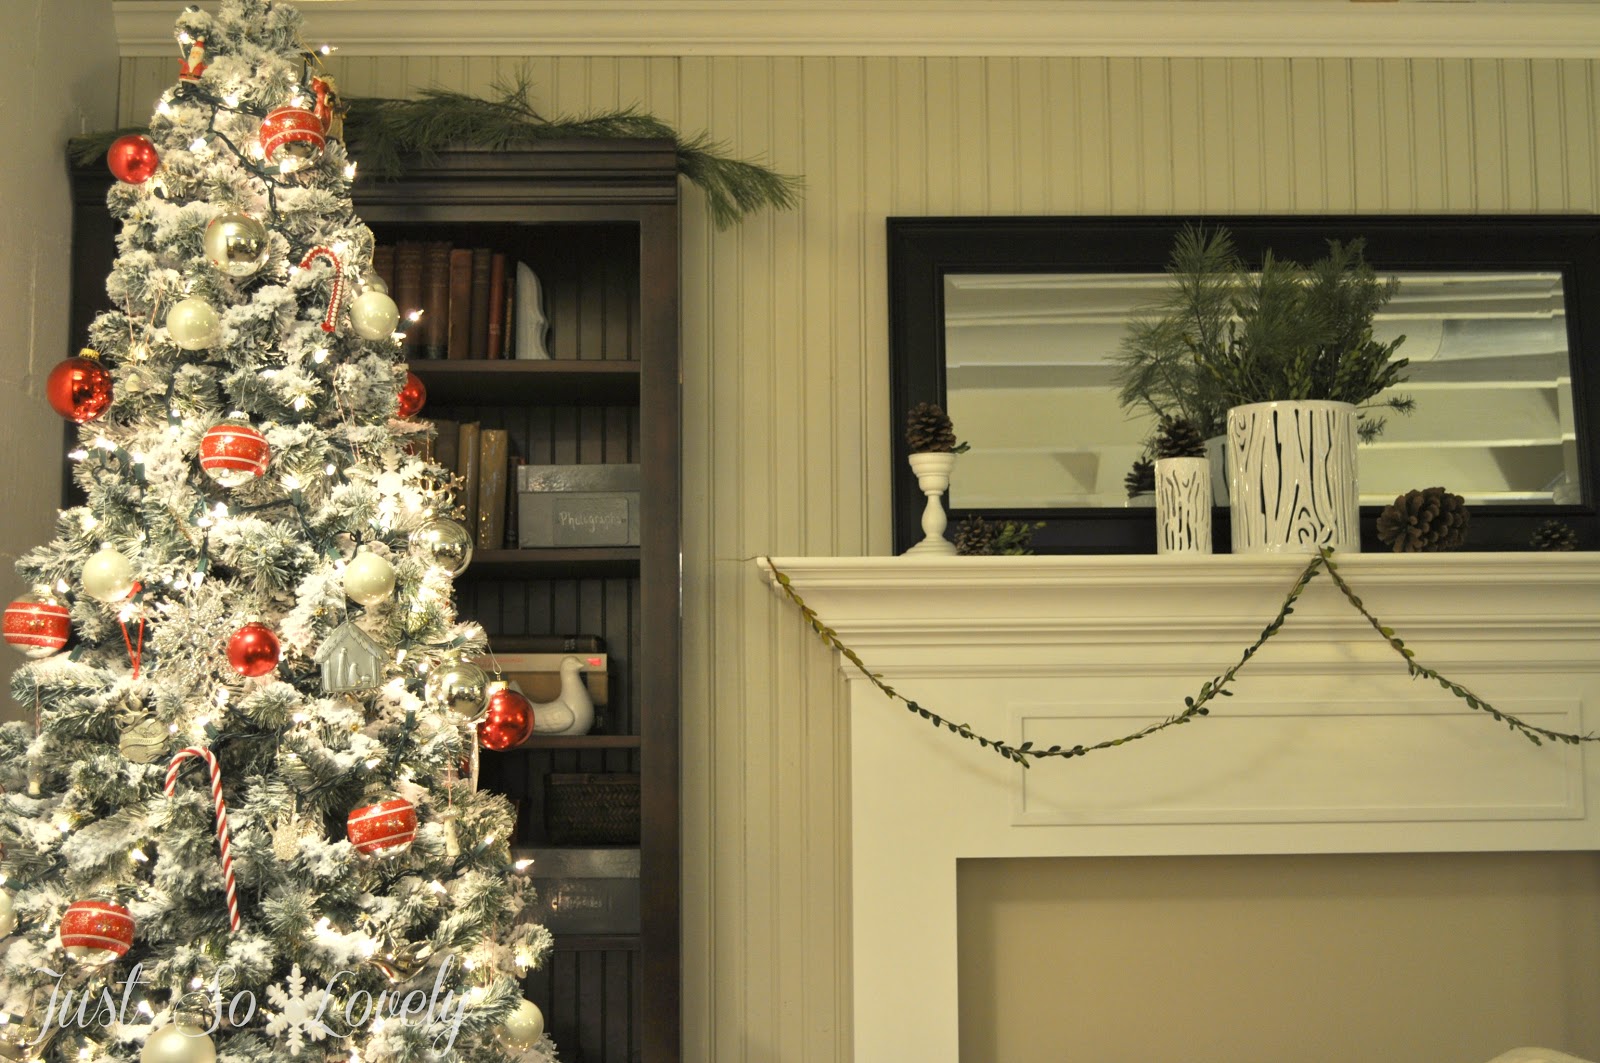
Here is what our flocked tree looks like now.  It is the perfect little tree for our basement family room and adds a little brightness down there!


The before:


The after:


Thank you for reading!  I hope to be back again before Christmas to share a favorite Christmas recipe as well as some more decorations throughout our home.  See you soon!

Monday, November 26, 2012

Clay Mushroom Ornaments


Hello!  I hope you all had a wonderful Thanksgiving!  Ours was filled with the slow and steady completion of projects around the house and some fun with our boys, all while eating our fill of turkey and all of the fixings.  Throw in some Christmas decorating inside and out and it was a flurry of activity, I tell you!  I wish I could say that I had pictures to share from our weekend, but Jason only managed to snap a few with our camera while I took a few more with my phone.  It is funny.  I used to be attached to that camera and felt like the boys rarely saw me without that thing.  Now, I use my phone to take pictures.  I've gotten lazy!  I need to find a happy medium.  I'll be working on that in the next few weeks.

Today, I have a delightfully easy and whimsical project to share with you!  Last year, I purchased the sweetest glass mushroom ornaments from Crate and Barrel.  How fun, I thought, it would be to make these myself!  And so I did!  

Here is what you will need to make your own clay mushroom ornament:

Clay, I used Original Sculpey Clay in white (the oven-bake kind)
A wooden skewer
Glitter glue
Glitter
String or twine

To begin, you will need to gather two pieces of clay roughly the same size and form one into a long tube-like shape and the other into a flat, round disk, similar to this:


Take the flat disk shape and press your thumb into it, so that it forms a cup-like shape.  Then, take the tube-like shape and flatten one end of it so that it can stand up.


Your pieces should look like this when you are done.


Carefully push the two pieces together to form your mushroom.  To make the hole at the top, use a wooden skewer.


The hole should look like this after you remove the skewer.  You are now ready to bake your mushroom.  To do this, follow the directions on your clay packaging.


To decorate your mushroom, simply brush with glitter glue and sprinkle with glitter.


After the glue has dried, you are ready to hang your mushroom.


Have you made any ornaments this year?  Have you started decorating for the holidays yet?

Thank you for reading!  Have a wonderful day!

I'm linking up to:

Monday, November 28, 2011

Crown of Thorns Tree Topper

Jason and I never really had something to place on top of our Christmas tree.  We bought a glittery gold star at a department store our first year of marriage because we had a coupon and needed to find something to buy!  Truth be told, we weren't all that attached to it.  The star didn't hold any sentimental value.  Growing up, I loved what my Mom placed at the top of our Christmas tree at home.  She had the most beautiful gold crown of thorns and since I've been married and have put up a tree in my home, I've wished I could find one just like hers.  This year, I decided to make one of my own.  Before I get started though, you may be wondering why I would place such a thing at the top of my tree?  As a Christian, I believe that God sent His son Jesus to earth for one reason.  Jesus lived a perfect life, suffered on the cross, and died so that we could live with Him in heaven someday!  For me, the crown of thorns is a symbol of why Jesus was born in that lowly manger on Christmas and what He suffered for me!  Placing it at the top of our tree reminds me and my family of what a gift our Savior is and points us to His death and resurrection as well as the eternal home we have in heaven.

When I made this, I made sure to choose some sticks that were still a little green so that I could easily bend them into circles, kind of like a wreath.


I made a couple of circles and wound them around each other, fastening them together with some green floral wire.  I kept adding sticks until I got the look I was after.


After I primed it, I added the "thorns."  My thorns are actually small nails I hammered into the crown of thorns.


After I was done, I spray painted the entire crown of thorns silver.  After it was dry, Jason placed it at the top of our tree.


What special item does your family place at the top of your Christmas tree?

I'm linking up to:

My Uncommon Slice of Suburbia