Monday, December 5, 2011

Our Outdoor Christmas Decor

When my husband made me these window boxes this summer, I was already getting excited about decorating them for Christmas.  I knew I wanted to use fresh evergreen boughs and some Christmas lights to add some festive touches to the front of our home.  We bought the evergreen boughs at a local florist shop.  The "dogwood sticks" are just some sticks from our yard that I spray painted "Colonial Red."  We did want to buy real dogwood sticks but they were over eight dollars for a small bunch.  DIYing them ourselves saved us a bundle!


What do you do to decorate the front of your home for Christmas?  Leave a comment and a link if you like so we can all visit!  Happy Monday!

Thursday, December 1, 2011

Our Front Door Winter Wreath


Welcome, December!  I'm so glad you are finally here and at the same time, I know you'll go to fast and be so busy.  You'll be filled with snow, shopping, baking, wrapping, more snow, more shopping, parties, concerts, and the list goes on and on...  I think I just gave myself a headache.  Actually, I'm probably coming down with the boys' cold.  They just got over being sick and seemed to have caught another cold over Thanksgiving.  Oy!  I think I'll end this grinchy paragraph before you think I'm not excited about Christmas.  I am.  I mean, I AM!  To prove how excited I am, I'll share with you our wreath for our front door.

I began with a grapevine wreath.  I hot glued and wired various sizes of pine cones to the front.


I then headed outside and lightly spray painted the pinecones white.  After I was done, this is what I was left with.


I hung the wreath on our front door with a gray satin ribbon.


To give the wreath a little Christmas sparkle, I added some glittered sticks I bought from Michaels.  The best thing about this wreath is that I don't have to take it down with all of the other Christmas decor.  It looks like winter to me and can stay up long past Christmas.

On another note, tonight we will be doing our first Advent devotion and our first activity from our Advent calendar.  Henry and Oliver will be getting a new Christmas coloring book.  Also, Jason and the boys bought me an Elf on the Shelf as an early birthday present!!!  We'll be reading the book tonight and then Jason and I will have fun posing our little elf tonight after the boys go to bed.  I'm pretty excited!  Have a great day!

I'm linking up to:

Simple Home Life

Tatertots and Jello

Monday, November 28, 2011

Crown of Thorns Tree Topper

Jason and I never really had something to place on top of our Christmas tree.  We bought a glittery gold star at a department store our first year of marriage because we had a coupon and needed to find something to buy!  Truth be told, we weren't all that attached to it.  The star didn't hold any sentimental value.  Growing up, I loved what my Mom placed at the top of our Christmas tree at home.  She had the most beautiful gold crown of thorns and since I've been married and have put up a tree in my home, I've wished I could find one just like hers.  This year, I decided to make one of my own.  Before I get started though, you may be wondering why I would place such a thing at the top of my tree?  As a Christian, I believe that God sent His son Jesus to earth for one reason.  Jesus lived a perfect life, suffered on the cross, and died so that we could live with Him in heaven someday!  For me, the crown of thorns is a symbol of why Jesus was born in that lowly manger on Christmas and what He suffered for me!  Placing it at the top of our tree reminds me and my family of what a gift our Savior is and points us to His death and resurrection as well as the eternal home we have in heaven.

When I made this, I made sure to choose some sticks that were still a little green so that I could easily bend them into circles, kind of like a wreath.


I made a couple of circles and wound them around each other, fastening them together with some green floral wire.  I kept adding sticks until I got the look I was after.


After I primed it, I added the "thorns."  My thorns are actually small nails I hammered into the crown of thorns.


After I was done, I spray painted the entire crown of thorns silver.  After it was dry, Jason placed it at the top of our tree.


What special item does your family place at the top of your Christmas tree?

I'm linking up to:

My Uncommon Slice of Suburbia

Sunday, November 27, 2011

Glittered Pears

I saw this idea on Pinterest and loved it!  I loved it so much that I made it one of my first projects for Christmas.

Pinned Image
Via Pinterest
Image from We Heart It

I gathered all of my supplies.  To make these glittered pears you will need:
faux pears
glittering glue
glitter
string

I happened to buy all of my supplies at Michaels.  I love that store!


I tied some string around my pears so that I could hang them up while they dried.


I then set to work covering the green portion of the pears with the glittering glue.  I worked in small sections because the glue tended to dry very quickly.


I then sprinkled the glitter over the glue.  I love easy projects!


Here are my pears drying.


I left a little bit of the green showing since my colors for Christmas this year are green, silver, white, and brown.  I may throw a little red into the decor as well.  We'll see!


Since I had so much fun with the glitter, I did some pinecones as well!  I really love how they turned out!


If we ever get away from this gloomy weather, I'll take some pictures to show you how I incorporated these projects into my Christmas decor.  Here's hoping for some sunny weather tomorrow!

Monday, November 21, 2011

Christmas Herb Wreaths


If you are a regular reader of this blog you know that I love my herbs.  I have been covering them up every night in an attempt to keep them alive as long as I can.  The heartier herbs like the rosemary and lavender have been holding up well.  Come the first hard snow and I'll have to let them go.  Until then, we are enjoying every meal we can get with fresh herbs from our back yard!  I did want to think up a fun way to dry my rosemary and lavender, since they were so bountiful this year!  I decided to make some Christmas herb wreaths!

For this project you will need:

a woody, hearty herb such as rosemary, lavender, bay leaf, etc.
a wreath form
floral wire
wire cutters


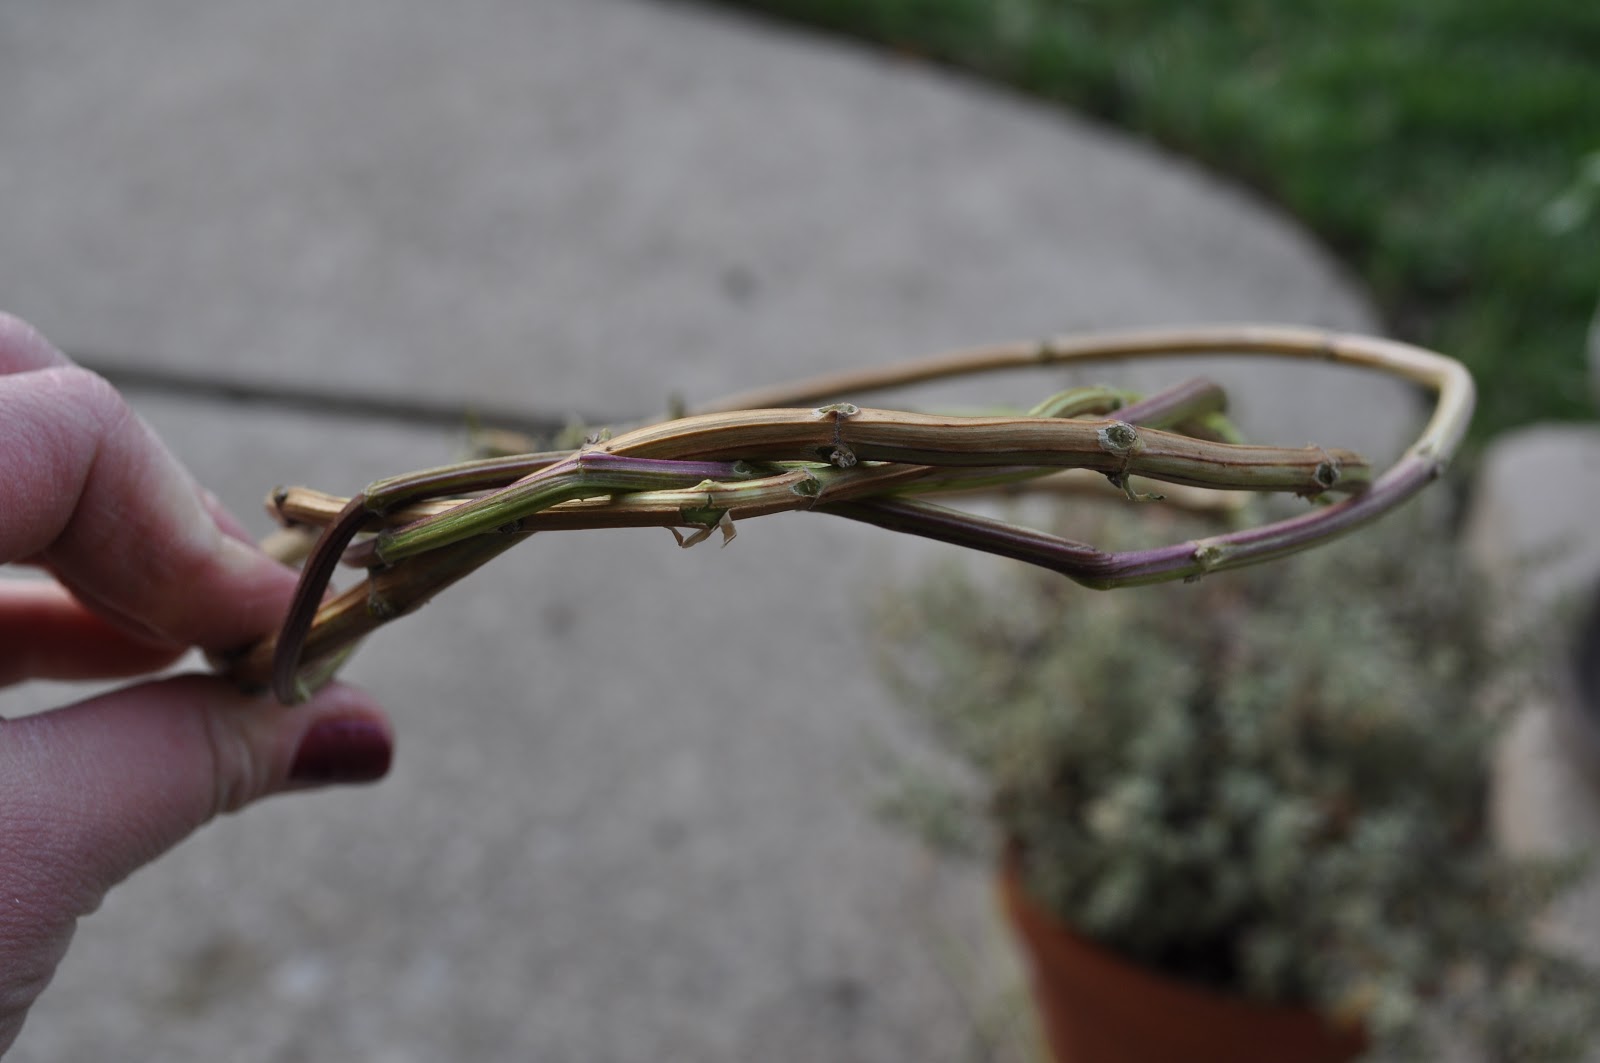
 I made my wreath form from some flexible sticks I got from my lemon verbena plant.  They were still a little green which helped them bend a little easier.  I wired them together with the floral wire.  Don't worry if your form isn't perfect.  The herbs will cover it up!


I then took individual sprigs of rosemary and attached it to my wreath form with the wire, working my way around the form.


When I was done, I used some ribbon to make a bow and hang it on my door.  Easy and lovely!


The nice thing about an herb wreath is that it will dry out and the herbs can be used in your cooking!  Plus, it smells amazing!


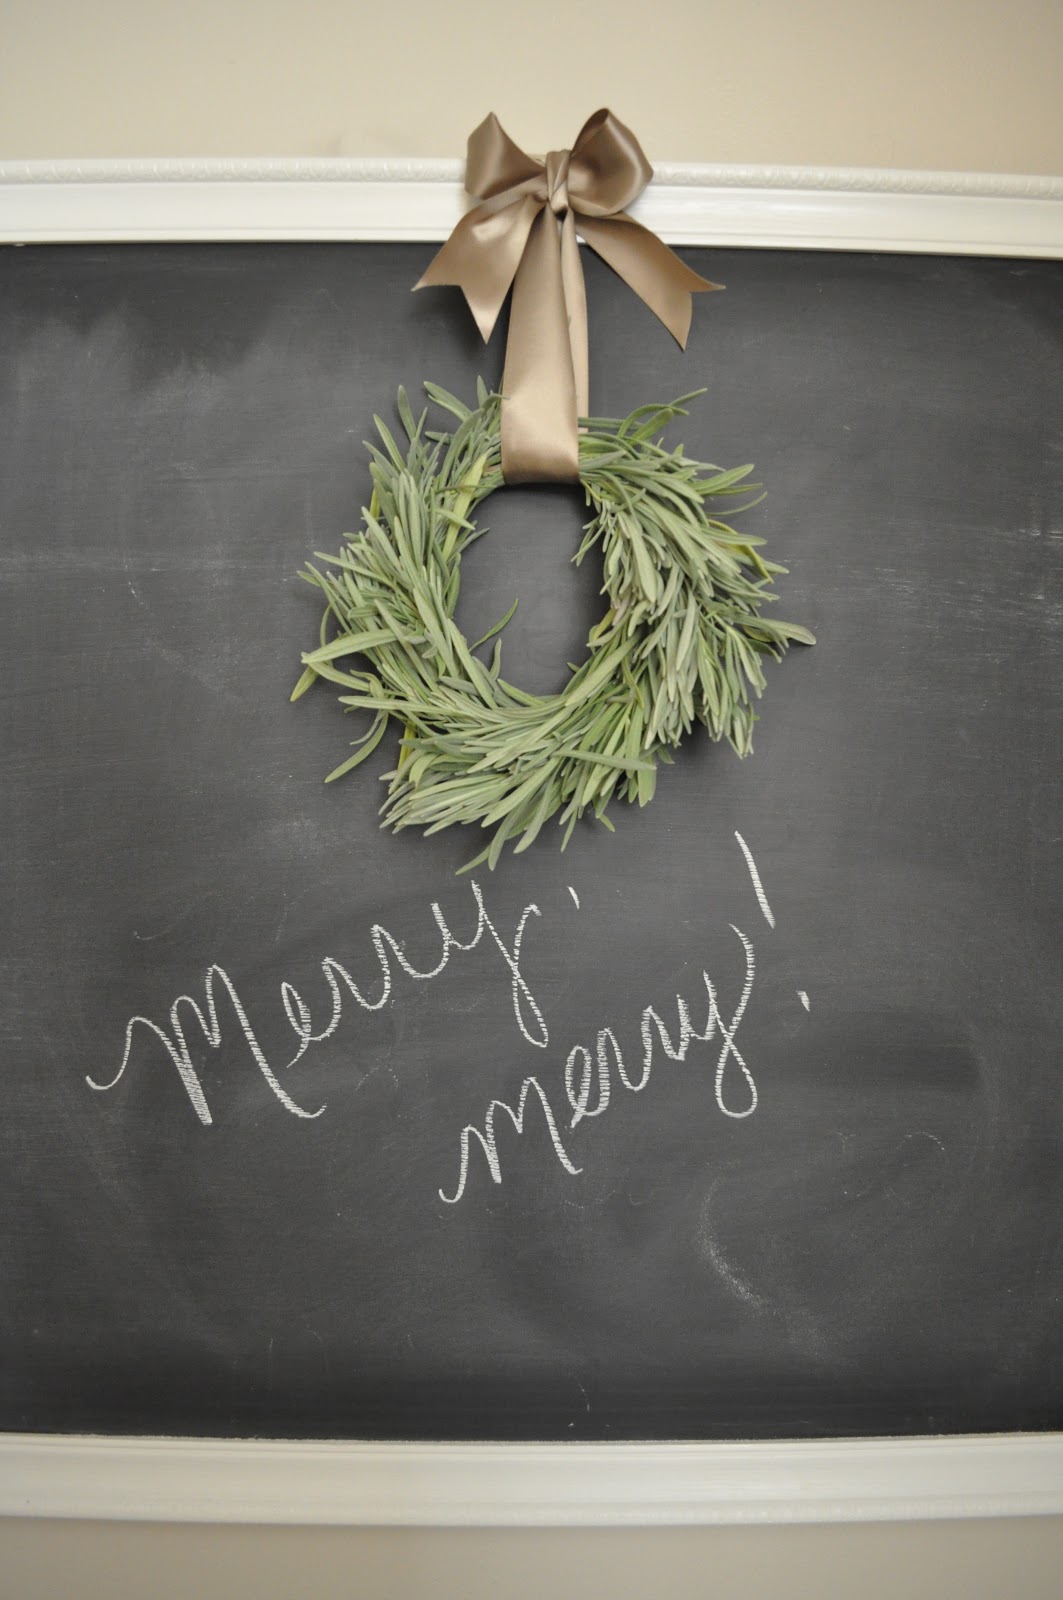
I did the same thing with my lavender.  I made this wreath a little smaller.


Thanks for reading!

I'm linking up to:


Wednesday, November 16, 2011

Christmas Inspiration

Here are a few of my favorite pins from Pinterest that have been inspiring my Christmas decorating as well as my Christmas spirit.  Yes, I have started and it isn't even Thanksgiving yet.  What can I say?  I love Christmas.  It is my favorite.  I hope you enjoy the following eye candy as much as I do!

Pinned Image


Pinned Image


Pinned Image


Pinned Image


Pinned Image


Pinned Image


Pinned Image


Pinned Image


Pinned Image


Pinned Image


Pinned Image


Are you drooling?  Just a little bit?  It's okay if you are.  I totally understand...

I love you, Thanksgiving...  but bring on Christmas!

Monday, November 7, 2011

Thanksgiving Table Setting

Even though I'm not hosting Thanksgiving this year, I still wanted to create a beautiful table setting for my family of four.  You see, we go to my parents' house for Thanksgiving every year.  I love it.  However, we never have access to those yummy leftovers that you get after the festivities have come and gone.  To remedy this, I plan on making our own "mini Thanksgiving meal" the weekend after.  I'll have all the turkey I need to make soups, pot pies, and sandwiches.  Here is what our table will look like for our own little family Thanksgiving celebration.

I started by setting out my yellow table runner along with my white dishware.  I love white dishware.  It goes with anything.  You can't go wrong with it!  I wanted to go with a yellow, brown, and silver color scheme, so I brought out my silver chargers.


For a place card, I simply took some gray card stock and cut it into strips.  I then cut a "v" in each end.


I wrote our names on the strips of card stock and wrapped them around some of my dried cone flowers that I spray painted with some Goldenrod spray paint.


I kept them in place with some hot glue.


To keep the color scheme going, I added my silver and golden yellow pumpkins to the table.


My menu card is pretty plain Jane.  I printed my "menu", which is totally fake by the way, on some more gray card stock and glued another dried cone flower to the front.  I really have no idea what we'll eat that day!


Thanks for taking a look at my Thanksgiving table setting!  It was fun to put together and I can't wait to enjoy it with my three boys at our Thanksgiving.