Monday, December 17, 2012

A Flocked Christmas Tree


A couple of weeks ago while we were on our quest for pine boughs to decorate our house with, we stopped at a nursery in our neighborhood.  At this particular nursery, they sold real Christmas trees that had been decorated with flocking.  Let me tell you guys, if I had an extra $150 burning a hole in my pocket every December, I would buy a real, flocked Christmas tree.  I would.  They are beautiful!  Just look!

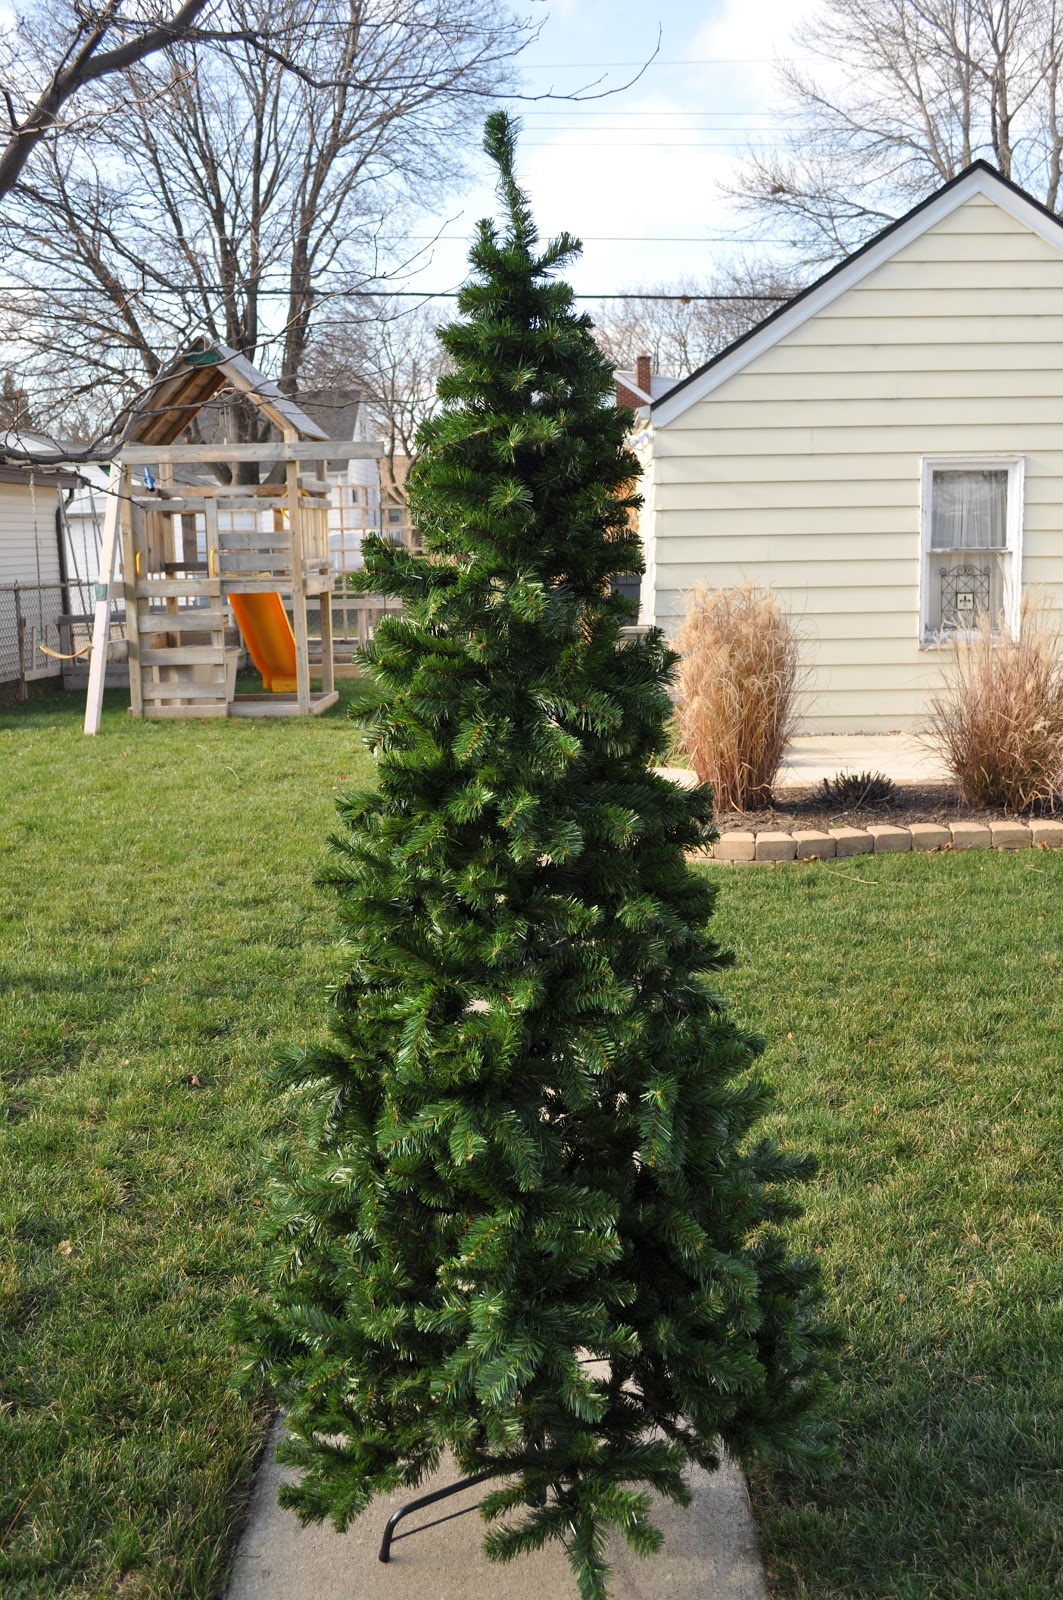
Of course, we left that nursery without a flocked tree and came home to this tree.  Of all the Christmas trees in our house, this one was the Charlie Browniest.  I couldn't stop thinking about those flocked trees.

I really wanted to flock the little artificial Christmas tree for our basement family room.  I did some research and wasn't able to find much information on flocking your own Christmas tree.  The information I did find said that you would need a machine that would spray the flocking on to your tree and there was no way that I would be able to find or purchase something like that.  Other tutorials said to use a mixture of soap and water, but that approach was more suitable to a real Christmas tree that could be disposed of after the end of the holiday.  My husband called the nursery that sold the flocked trees and asked if there was any way to flock an artificial tree.  The employees there were quite helpful and gave us some information which I will share with you today!  

I am not going to be confident enough to call this a tutorial for a couple of reasons.  I do not know how the flocking will hold up after Christmas is over.  The employee we spoke to at the nursery said that it should last for a couple of years, but there is no certainty in that.  Our plan is to remove the ornaments and lights but leave the rest of the tree together, since pushing the branches down and storing it in a box will no longer be an option.  Putting it in a Christmas tree bag and keeping it in our attic will hopefully preserve the flocking for at least a couple of years. 

Also, I'm not sure that there is a "technique" to this.  The employee at the store said to "throw the flocking at the tree", which I did do at times.  I also "sprinkled" the flocking on to the tree.  At times, I "pushed" the flocking onto the tree.  In other words, I basically flew by the seat of my pants on this project, not knowing for sure if it would turn out until the end.  Yikes.  I'm still not confident about how I went about it, thus, I won't call it a tutorial.  I'm not a flocking expert.  However, I will tell you that it made our artificial tree much prettier to look at and it was worth the time, effort, and money put into it.  So that's that.  I would be happy to try and answer any questions you may have, but I can't guarantee good results for your tree should you try it yourself.

Let's move on.  To flock our Christmas tree, I used the following supplies:

a Christmas tree (artificial)\
spray paint
flocking powder (I bought a 5 lb. bag for $5.00 per lb.)
a spray bottle filled with water
a mask
safety glasses
rubber gloves (optional)
old clothing (this project is messy!)

To start, I brought our 6'x3' tree outside and primed it with a very light coat of spray paint.  I am not sure if this step was necessary, however I wanted the flocking to adhere to the tree as best as possible.

After the spray paint had dried, I sprayed a small section of the tree with the water.  I then put on my safety glasses and mask to protect myself from the flocking dust.

I then took a small handful of the flocking powder and sprinkled it on the wet sections of the tree.

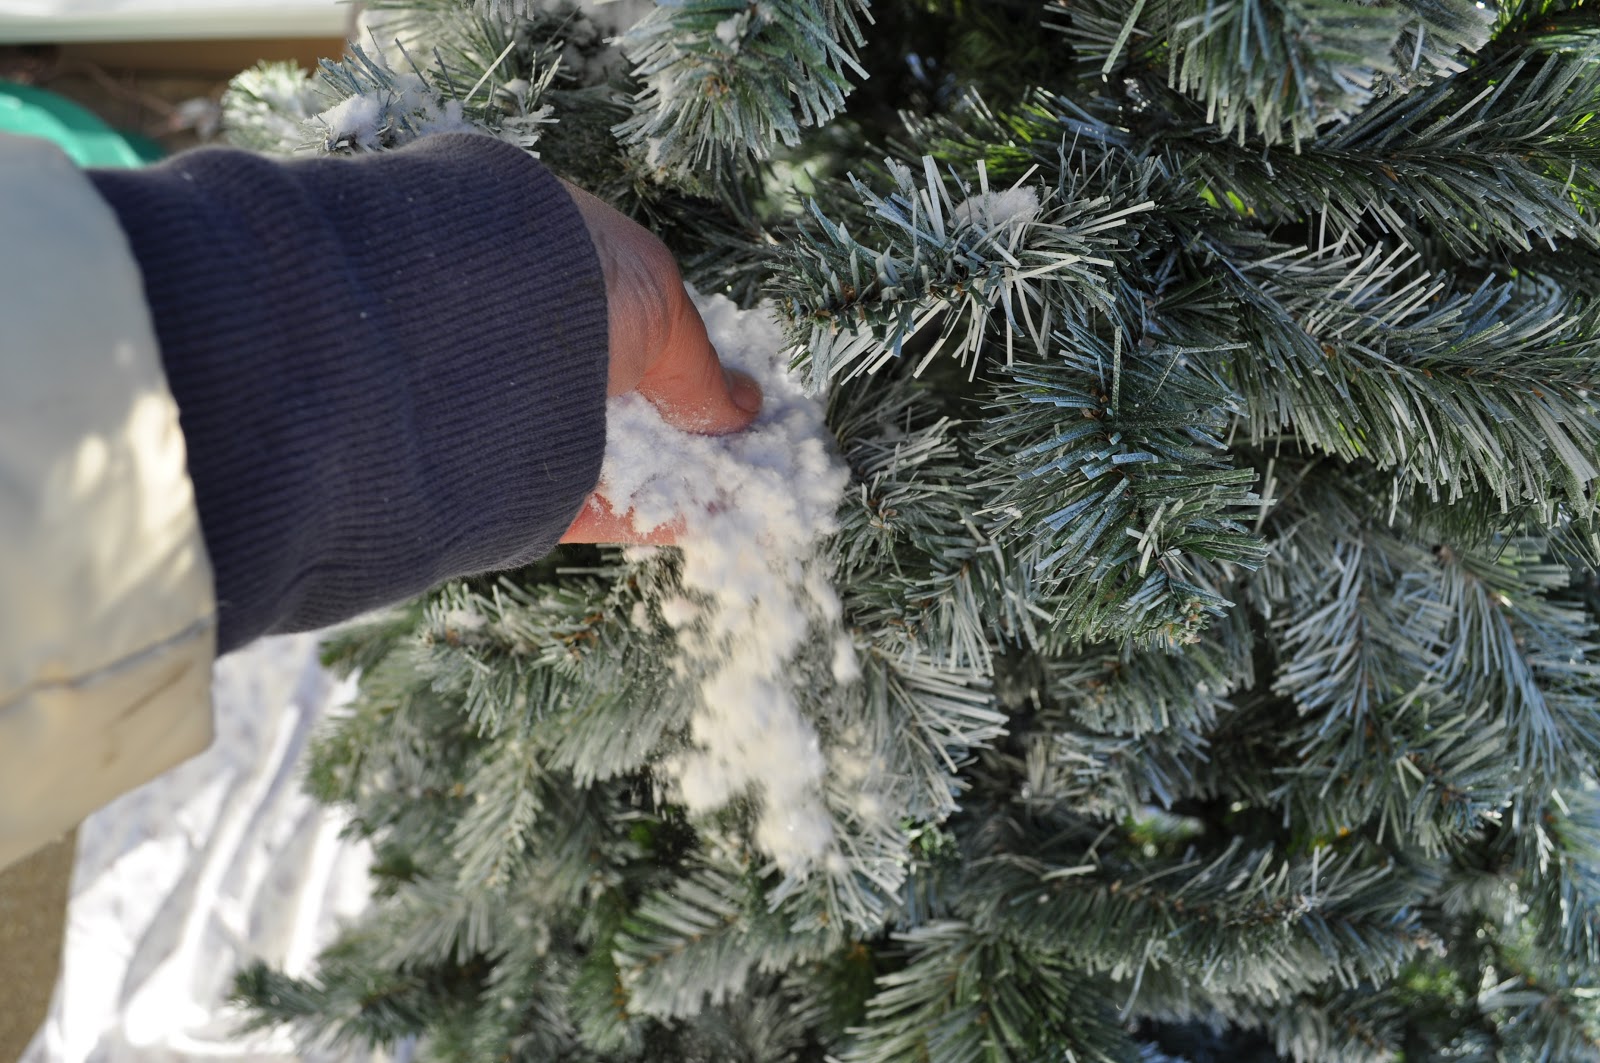
To set the flocking powder, I sprayed it with water.  As I applied the water to the flocking powder, it clumped together.  After the flocking and water dried, it turned hard.

This is what the flocking looked like after it dried completely.

I could have added more flocking to this tree to make it look like the ones in my inspiration picture above because I had more than enough flocking.  However, Jason and I both decided that we like a little bit of the green in the tree to show.  Also, the more flocking you use, the more expensive it is!

Here is what our flocked tree looks like now.  It is the perfect little tree for our basement family room and adds a little brightness down there!


The before:


The after:


Thank you for reading!  I hope to be back again before Christmas to share a favorite Christmas recipe as well as some more decorations throughout our home.  See you soon!

Wednesday, December 12, 2012

Lately... the iPhone Christmas Edition

We've been having a grand time around here lately until we got the flu, preparing our hearts and home for Christmas.  Here are a few snippets of life lately, according to my iPhone.

making a biiiig rice krispie treat Christmas tree.


sending and receiving Christmas greetings.


getting sick with the flu.  this was not such a fun time.


making gingerbread houses.


making treats.  lots of them.


making snow globes.


decking the halls.


sewing gifts for my niece and her baby doll, "Babes", which by the way, is the best baby doll name ever.


spending cozy nights together.


We hope you are making Christmas memories with the ones you love!

And for pete's sake, whatever you do, do not get the flu!

Tuesday, December 4, 2012

A Christmas Mantel


Our Christmas mantel in our family room this year is in keeping with my apparent themes of "using what I have" and "bringing in natural elements".  It all began with the boxwood wreaths I made earlier in my Christmas decorating.  It didn't seem right to add all sorts of "stuff" around something so natural.  So, this year, I'm keeping it as simple as I know how.  It feels refreshing and I like it.  It is nice to have some "life" in our dark basement family room!

This mantel consists of candlesticks and vases from around the house.  I added boxwood from our yard in the form of some sprigs and a simple garland.  The tree boughs were purchased at a Christmas tree lot near our home.  The pine cones were picked up from a walk at a park near my parents' house.  For now, these simple, natural decorations seem like enough.  If the rearranging bug hits (and you know it most likely will) I will share for sure!

How have you decorated your home this year?  Do share!

I'm linking up to:

Wednesday, November 28, 2012

A Boxwood Christmas Wreath


Hello!  I've got another wreath tutorial to share with you today!  I think this boxwood wreath might be my favorite.

This is what you will need to make your own boxwood wreath:

Boxwood clippings (I cut mine from my yard)
A wire hanger
Floral wire
Wire cutters
Ribbon (optional)

First, take your hanger and pull the bottom portion until it forms an oval.  


In order to cover the hanger, use two longer clippings together and wire them to the hanger.  Make sure to tuck the wire under the leaves so that it is not as visible.


Work your way around the hanger, making sure to keep the leaves facing the same direction so that it looks neat.  Cut the top portion off of the hanger and attach your ribbon.  You're done!


I've made quite a few of these already for our home and like the little splashes of green they add.  I'm hoping they dry well and stay green enough to keep things merry and bright all winter long!


Thank you for reading.  See you soon!

I'm linking up to:
Craftberry Bush
Design, Dining, and Diapers
Crafty, Scrappy, Happy
Hi Sugarplum!
Centsational Girl
Nesting Place

Monday, November 26, 2012

Clay Mushroom Ornaments


Hello!  I hope you all had a wonderful Thanksgiving!  Ours was filled with the slow and steady completion of projects around the house and some fun with our boys, all while eating our fill of turkey and all of the fixings.  Throw in some Christmas decorating inside and out and it was a flurry of activity, I tell you!  I wish I could say that I had pictures to share from our weekend, but Jason only managed to snap a few with our camera while I took a few more with my phone.  It is funny.  I used to be attached to that camera and felt like the boys rarely saw me without that thing.  Now, I use my phone to take pictures.  I've gotten lazy!  I need to find a happy medium.  I'll be working on that in the next few weeks.

Today, I have a delightfully easy and whimsical project to share with you!  Last year, I purchased the sweetest glass mushroom ornaments from Crate and Barrel.  How fun, I thought, it would be to make these myself!  And so I did!  

Here is what you will need to make your own clay mushroom ornament:

Clay, I used Original Sculpey Clay in white (the oven-bake kind)
A wooden skewer
Glitter glue
Glitter
String or twine

To begin, you will need to gather two pieces of clay roughly the same size and form one into a long tube-like shape and the other into a flat, round disk, similar to this:


Take the flat disk shape and press your thumb into it, so that it forms a cup-like shape.  Then, take the tube-like shape and flatten one end of it so that it can stand up.


Your pieces should look like this when you are done.


Carefully push the two pieces together to form your mushroom.  To make the hole at the top, use a wooden skewer.


The hole should look like this after you remove the skewer.  You are now ready to bake your mushroom.  To do this, follow the directions on your clay packaging.


To decorate your mushroom, simply brush with glitter glue and sprinkle with glitter.


After the glue has dried, you are ready to hang your mushroom.


Have you made any ornaments this year?  Have you started decorating for the holidays yet?

Thank you for reading!  Have a wonderful day!

I'm linking up to: